Vintage Wrap Dress Sewing Pattern, Pleated Skirt, Puff Sleeve (PDF Download)

Step 1
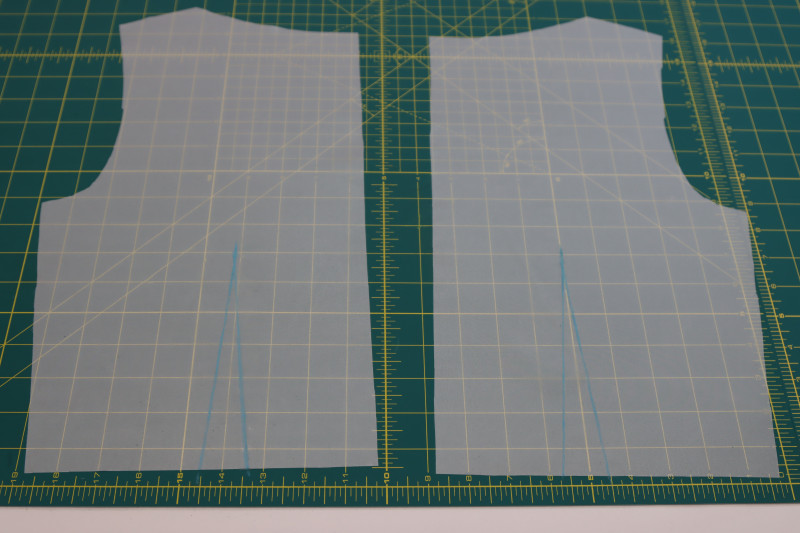
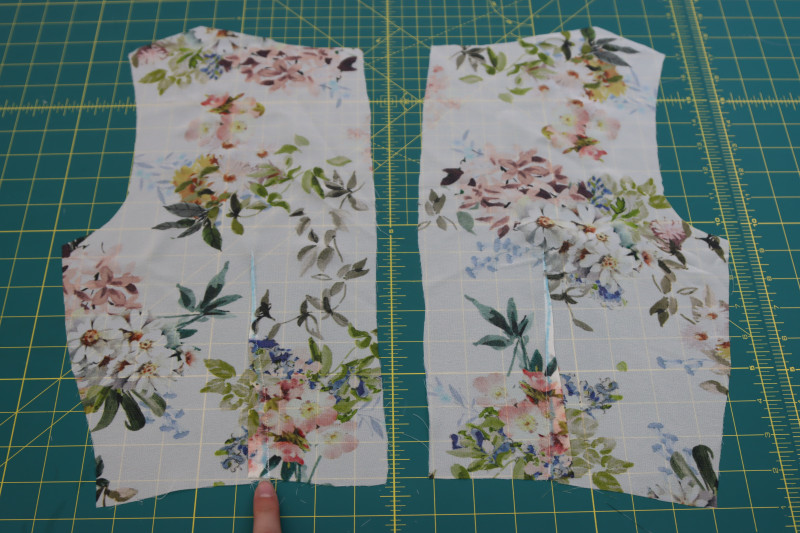
BACK DARTS
- Mark the back darts on the wrong side of the back bodice pieces using tailor’s chalk.
- Fold the back bodice pieces right sides together with the dart centered on the fold.
- Pin the two chalk lines of the dart together.
- Sew along the chalk lines.
- Press the darts towards the side seams.
- Repeat for both the lining pieces and the outer fabric pieces.
- NOTE: There is an optional dart on the bust neckline. I recommend making a muslin draft of the top first to check if you need it or not. If you choose to use the bust dart, sew them the same way the back darts are sewn.
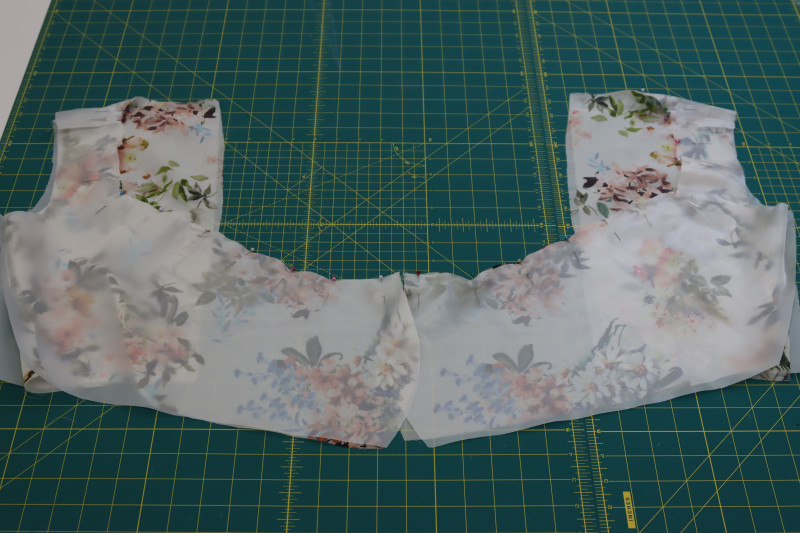
Step 2
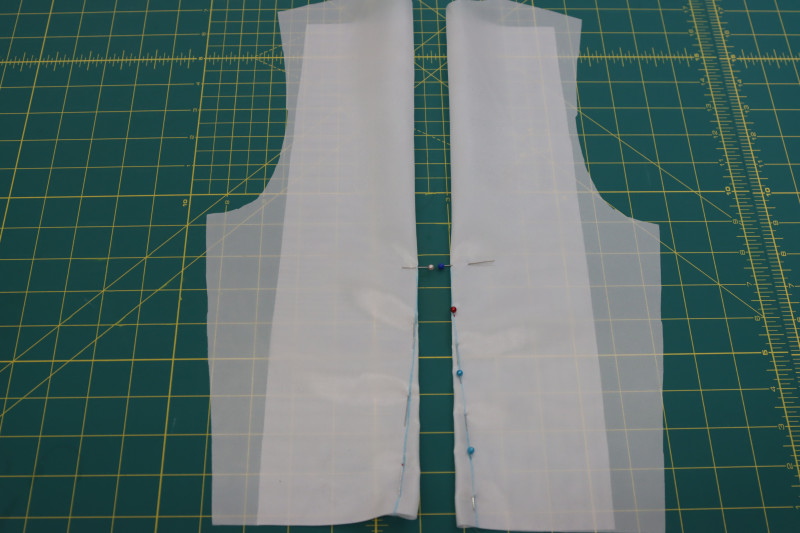
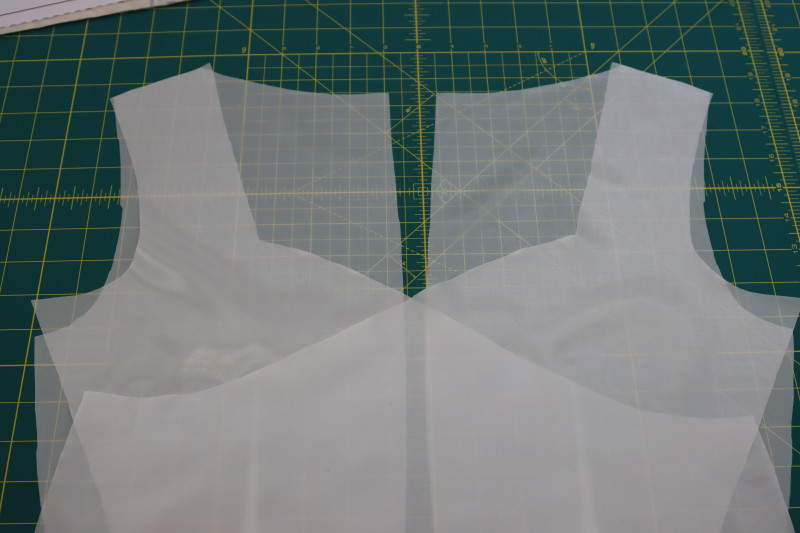
SHOULDER & SIDE SEAMS
- Place the front bodice pieces right sides together onto the back bodice pieces.
- Line up the shoulder and side seams of the front and back pieces.
- Pin and sew the front and back pieces together at the shoulder seams.
- Pin and sew only the top half of the side seams of the bodice (you’ll see why later).
- Repeat for both the lining bodice and the main fabric bodice.
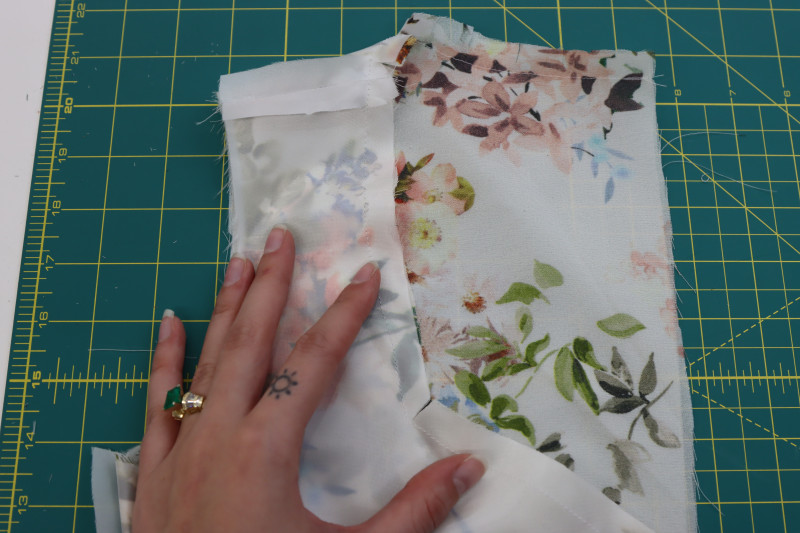
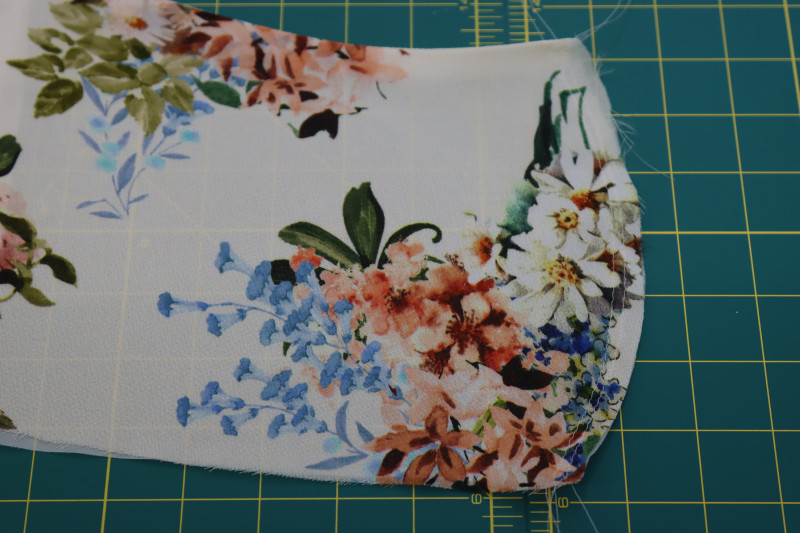
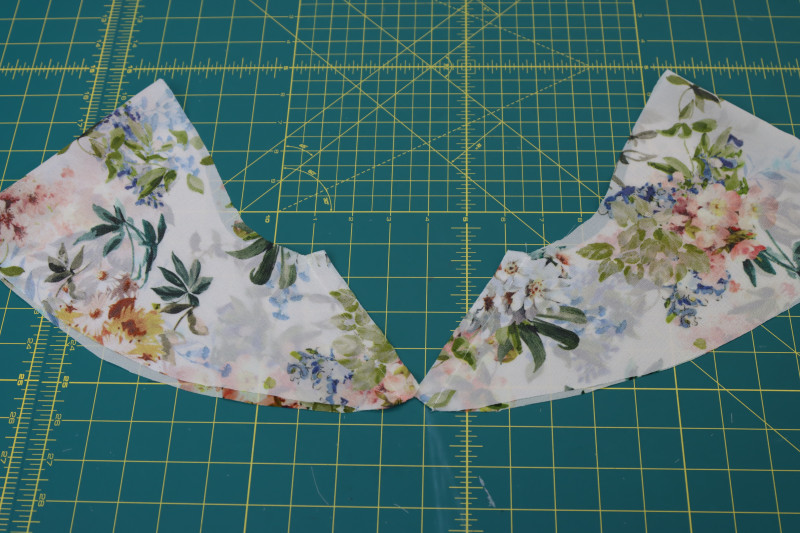
Step 3
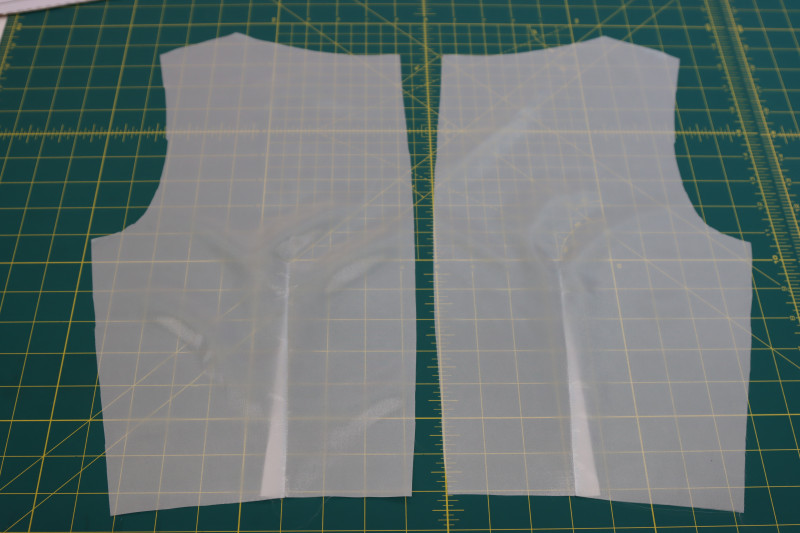
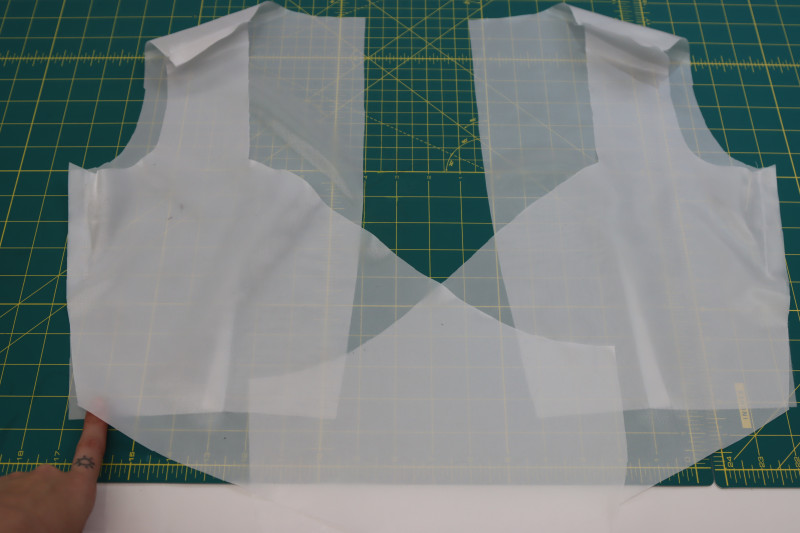
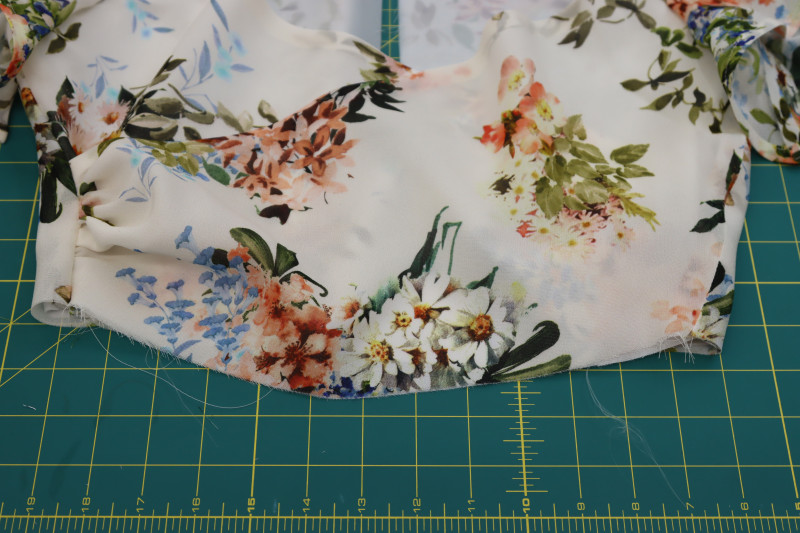
NECKLINE
- Place the lining bodice pieces right sides together with their corresponding main fabric bodice piece.
- Pin around the entire neckline on both sides of the bodice.
- Sew the neckline.
- Clip the corners and rounded edges of the neckline.
- Flip the necklines right sides out and press the seams.
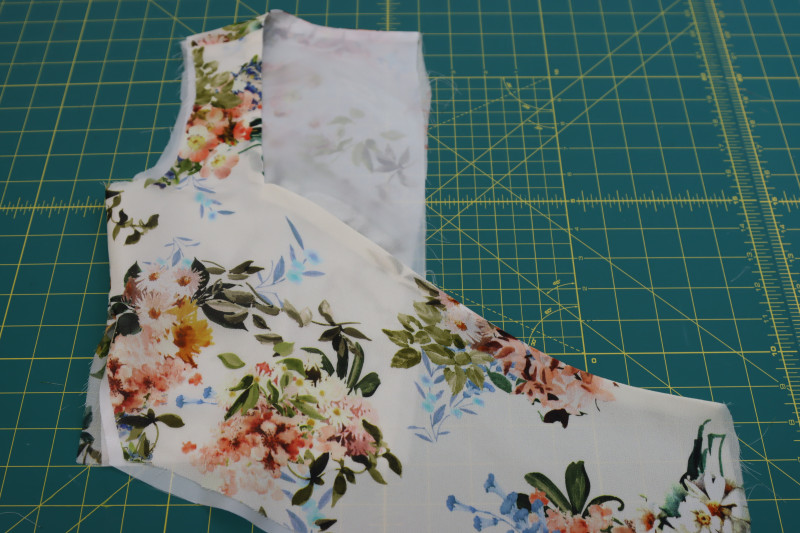
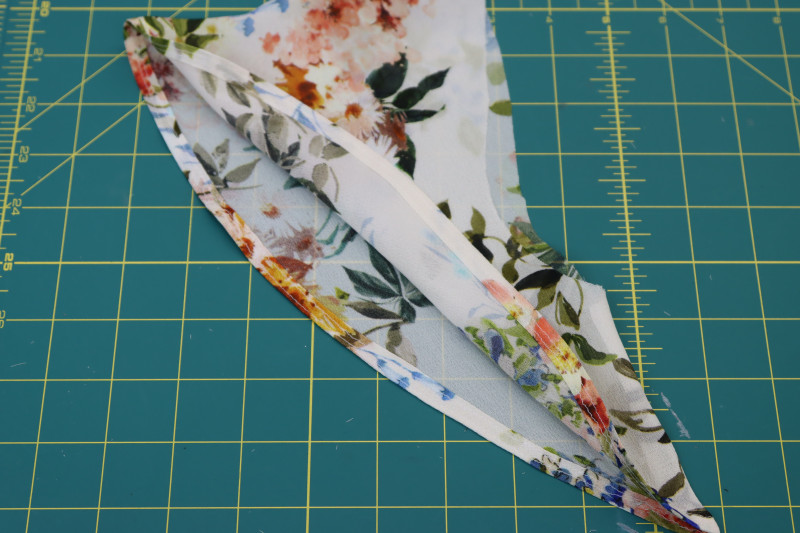
Step 4
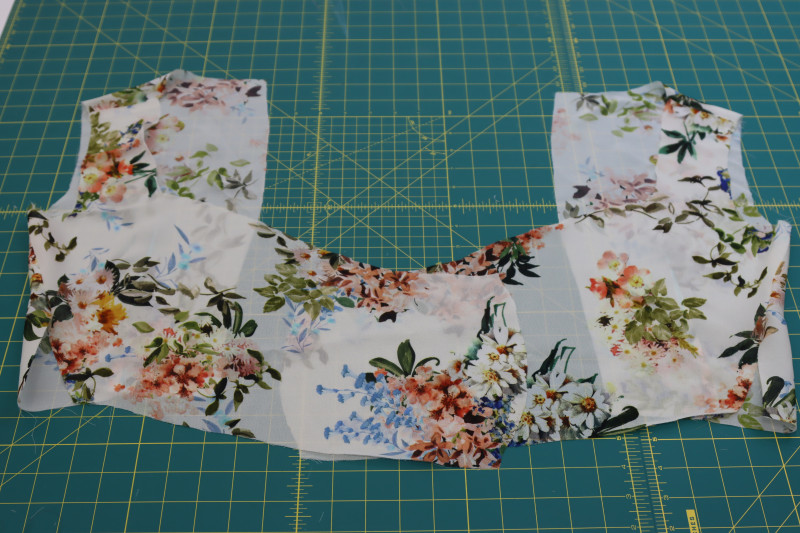
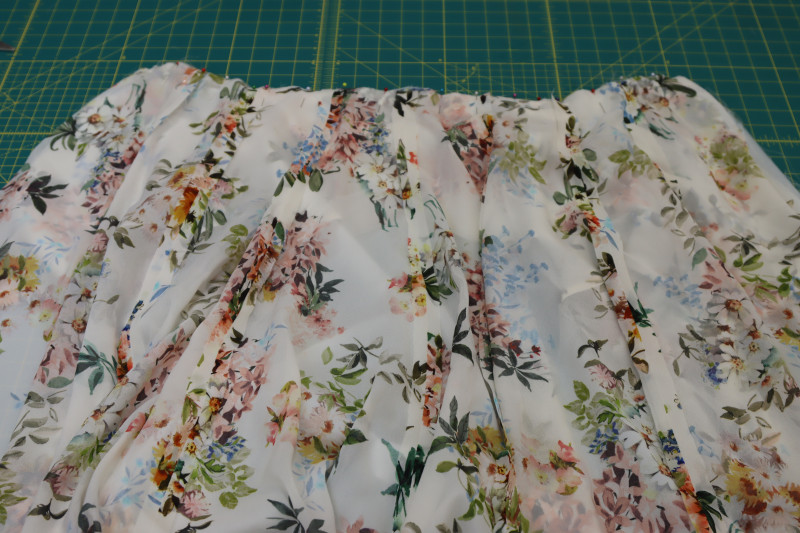
GATHERS
- Sew two parallel straight stitches with a stitch length of 4 millimeters along the short edge of the front bodice pieces.
- Begin pulling on the top threads of the two stitches to gather the side of the front bodice.
- Do this on both of the front bodice pieces.

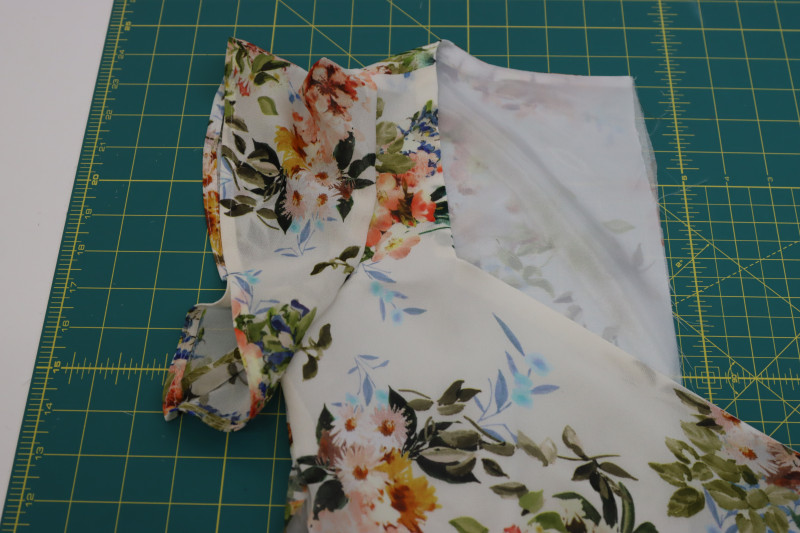
Step 5
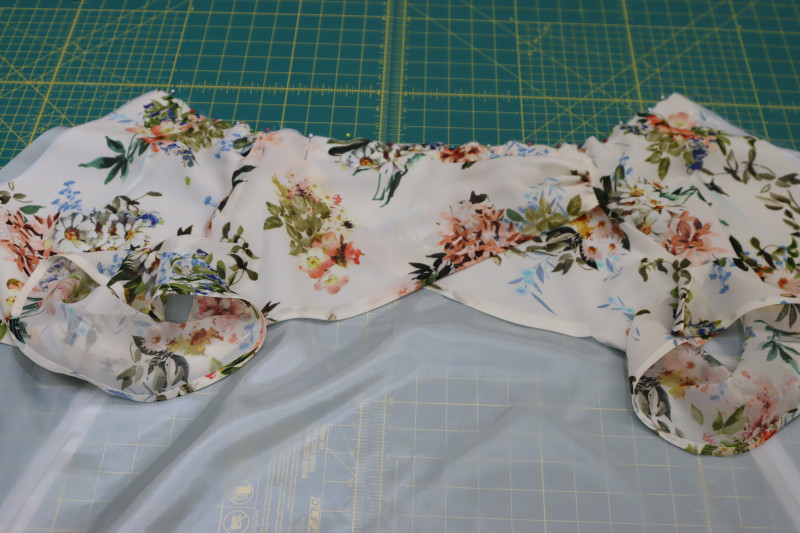
SLEEVES
- Fold the sleeves right sides together with the inseams lined up.
- Pin and sew the sleeve inseams.
- Press the sleeve inseams open and flat.
- Hem the bottom edge of the sleeves with a double rolled ¼ inch hem.
- Pin the sleeves right sides together with the armscyes of the bodice.
- Sew the sleeves to the bodice.
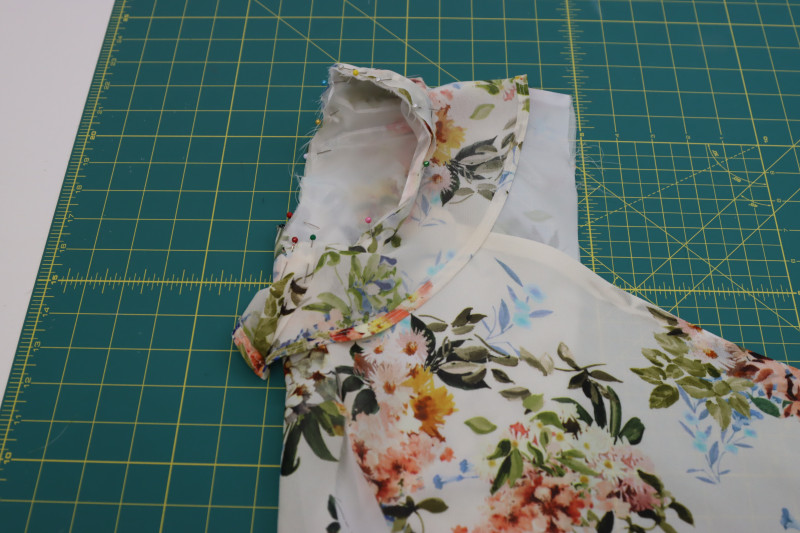
Step 6
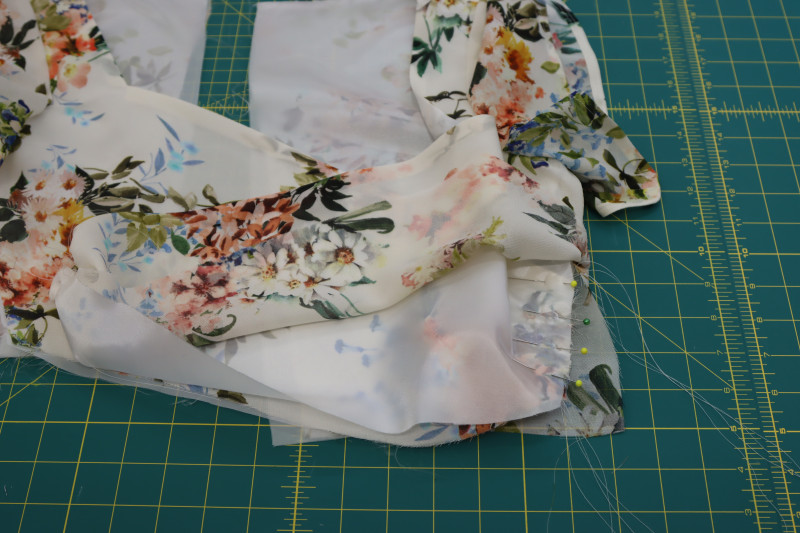
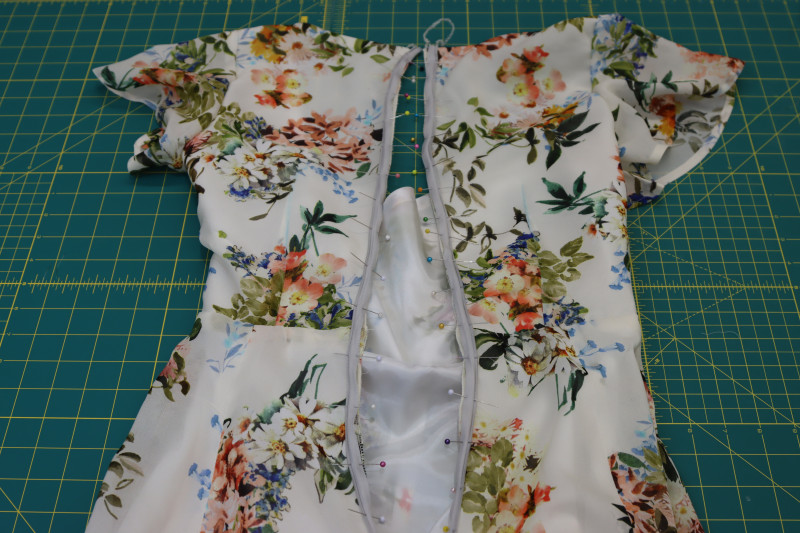
SECURE GATHERS
- Try and follow along with this explanation: At the front of the bodice, one layer will be on the outside and one will be on the inside. This means the bodice has overlapping layers in the front. In order to make all these layers secure and to hide all the raw edges, we have to sew the gathered edge of the bodice into the side seams.
- For the outside layer, sandwich the gathered side of the bodice in between the MAIN FABRIC side seam.
- Pin and sew the outside layer of the bodice in between the main fabric side seam. Close the main fabric side seam OPPOSITE to the one with the gathered fabric in it as well.
- For the inside layer, sandwich the gatherer side of the bodice in between the LINING side seam on the inside of the dress.
- Pin and sew the inside layer of the bodice in between the lining side seam. Close the lining fabric side seam OPPOSITE to the one with the gathered fabric in it as well.
- NOTE: At this point, I recommend trying on the bodice. If it seems like the neckline is too low or is not sitting flat against your chest, now would be the time to add a elastic into the neckline. To do so, cut 2 pieces of elastic that are each 2/3 of the length of the of one side of the neckline. Pin and sew one side of the elastic to the corner of the neckline where it meets the strap and sew the other side of the elastic into the side seam. The elastic should be in between the main fabric and the lining. After securing both sides of the elastic, sew a stitch under it to create a channel for it to stay in. Do this on both the left and right side of the bodice neckline. This will also give the neckline of the dress that “milkmaid dress” style.


Step 7
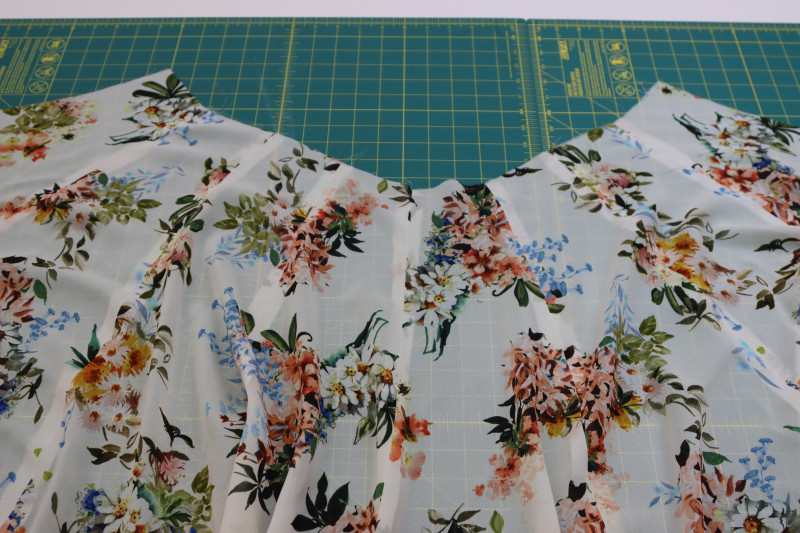
SKIRT PANELS
- Sew all 8 of the skirt panels to each other at the side seams, leaving each end open.
- Press all the skirt seam open and flat.
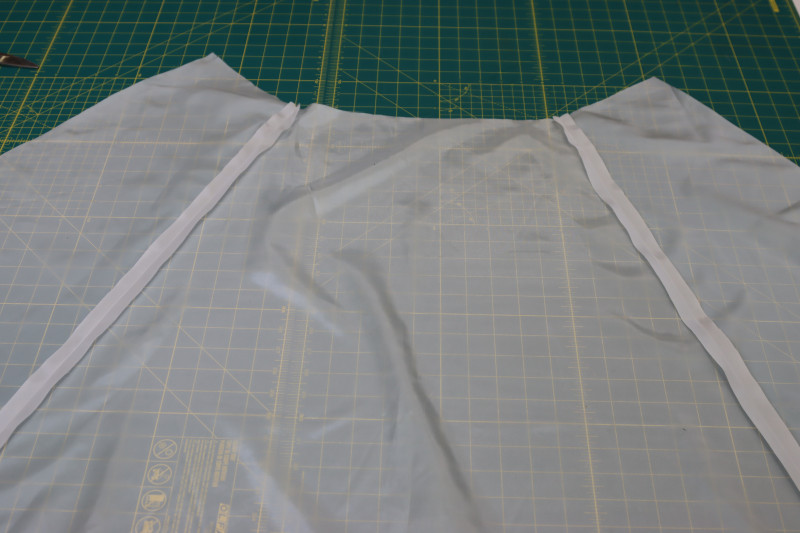
- Place the back skirt linings right sides together on top of the front skirt lining.
- Pin and sew the side seams of the skirt lining.
- Press the lining side seams open and flat.
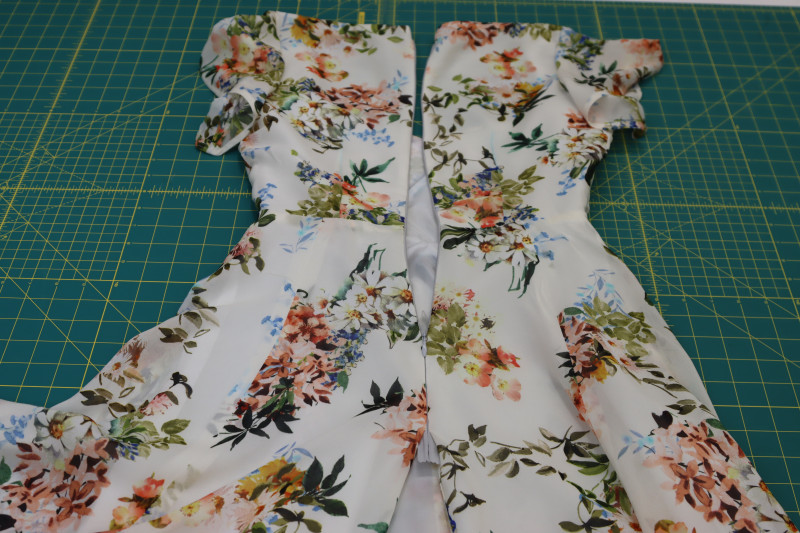
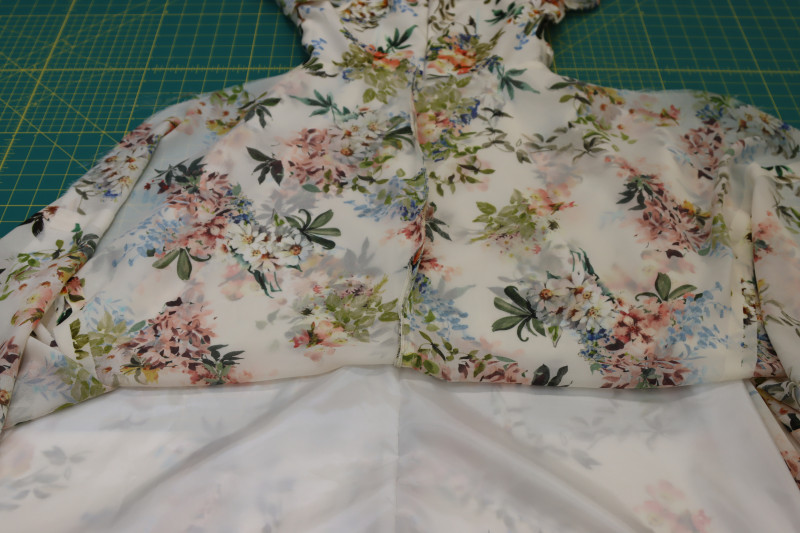
Step 8
WAISTLINE
- Lay the bodice onto the lining skirt so that the lining of the bodice and the lining skirt are right sides together.
- Layer the main fabric skirt on top of the bodice and lining skirt so that the main fabric of the bodice and the main fabric skirt are right sides together.
- Pin and sew the waist seam of the dress with all the layers sandwiched together.
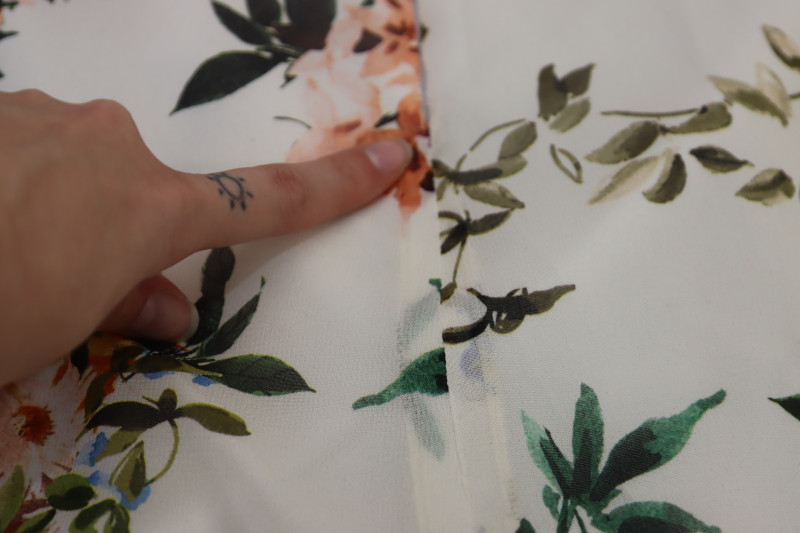
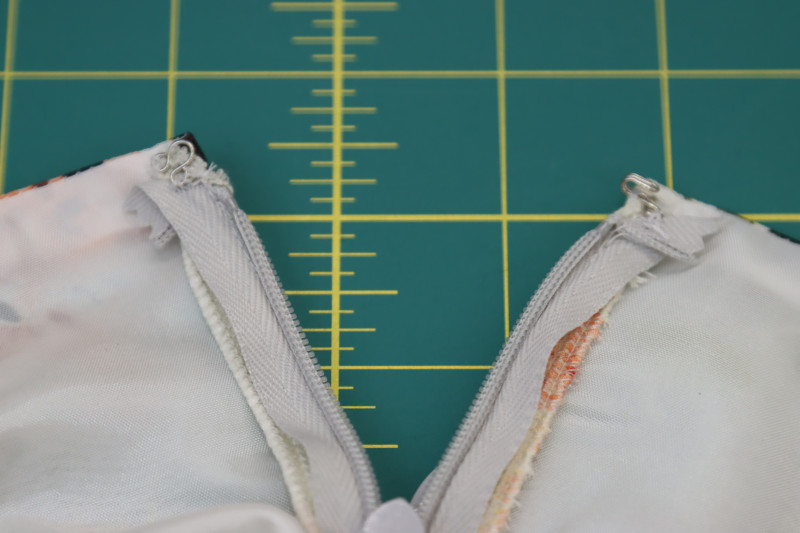
Step 9
INSERT ZIPPER
- Pin the invisible zipper right sides together with both sides of the center back opening, making sure that the waist and neckline seams line up on either side of the zipper.
- Sew the zipper tape close to the teeth on both sides of the center back opening.
- Zip the zipper and press the zipper seams open and flat.
- Pin and sew the rest of the lining closed under the zipper at the center back seam.
- Pin and sew the rest of the main fabric closed under the zipper at the center back seam.
- Press the center back seams open and flat.
Step 10
HOOK & EYE
- Hand sew a hook and eye closure to the center back neckline of the dress above the zipper.
Step 11
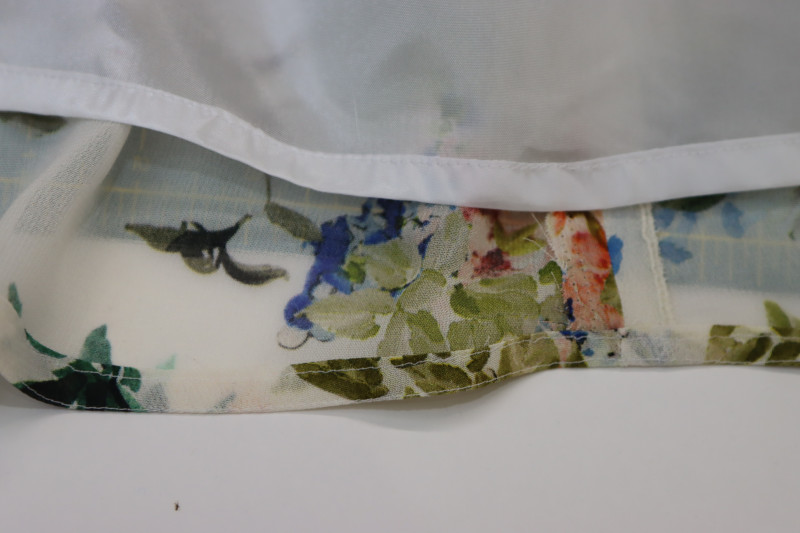
HEMS
- Hem the lining skirt and the main fabric skirt with a ½ inch double rolled hem.